![](https://shirokuma-folder.com/wp-content/uploads/2024/05/Twitter-kurokuma.webp)
パソコンを以前の正常な状態に戻したい
システムの復元を使用してみたい
このような悩み・疑問を解決します。
当記事を読むと「システムの復元」について、次のことがわかります。
- システムの復元を使用する方法
- システムの復元で使える3つの便利機能
- システムの復元を初めて使う時の注意点
![](https://shirokuma-folder.com/wp-content/uploads/2024/05/Twitter-shirokuma.jpg)
まずは「システムの復元手順」を画像付きで解説します。
システムの復元を使用する方法
ここからは、システムの復元を使用する手順をご紹介します。
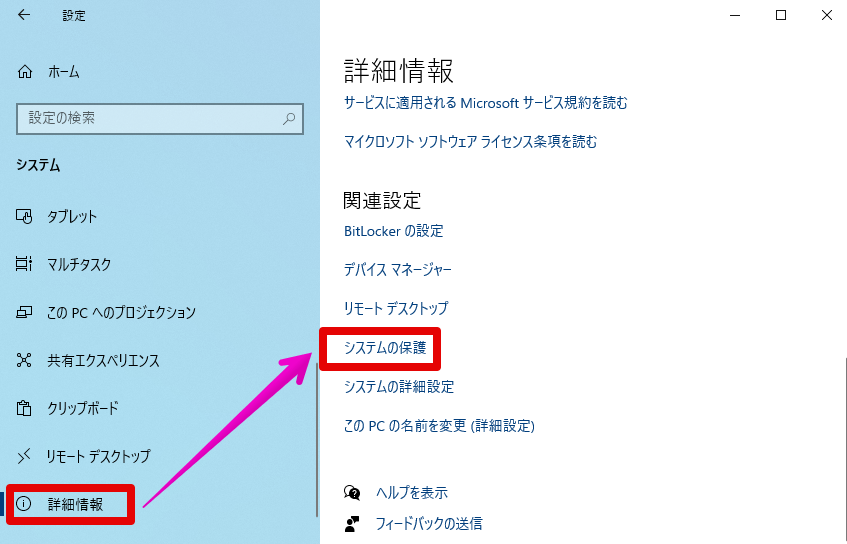
[スタート] → [設定] → [システム] → [詳細情報] → [システムの保護]の順にクリックします。
![システムの保護](https://shirokuma-folder.com/wp-content/uploads/2021/11/system-protection.png)
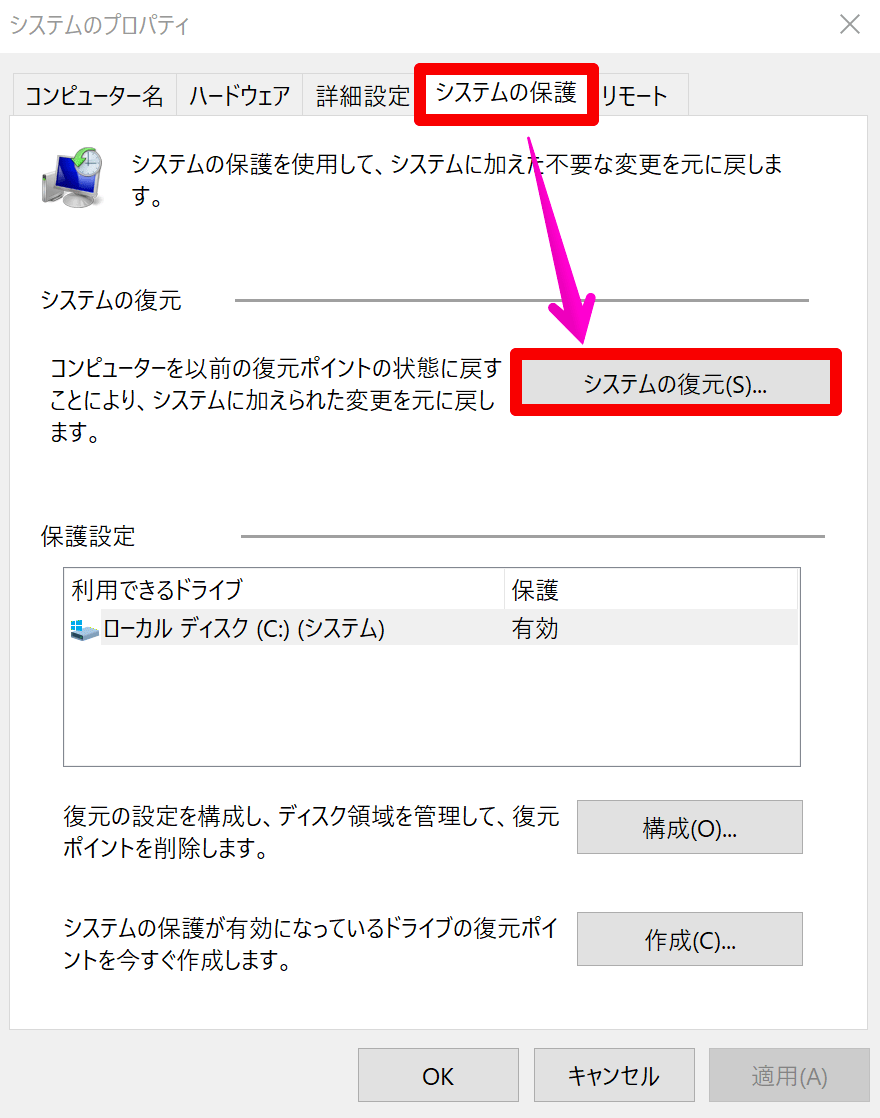
システムのプロパティが起動するので、[システムの保護] → [システムの復元]の順にクリックします。
![システム保護のシステムの復元](https://shirokuma-folder.com/wp-content/uploads/2022/03/system-restore-btn.png)
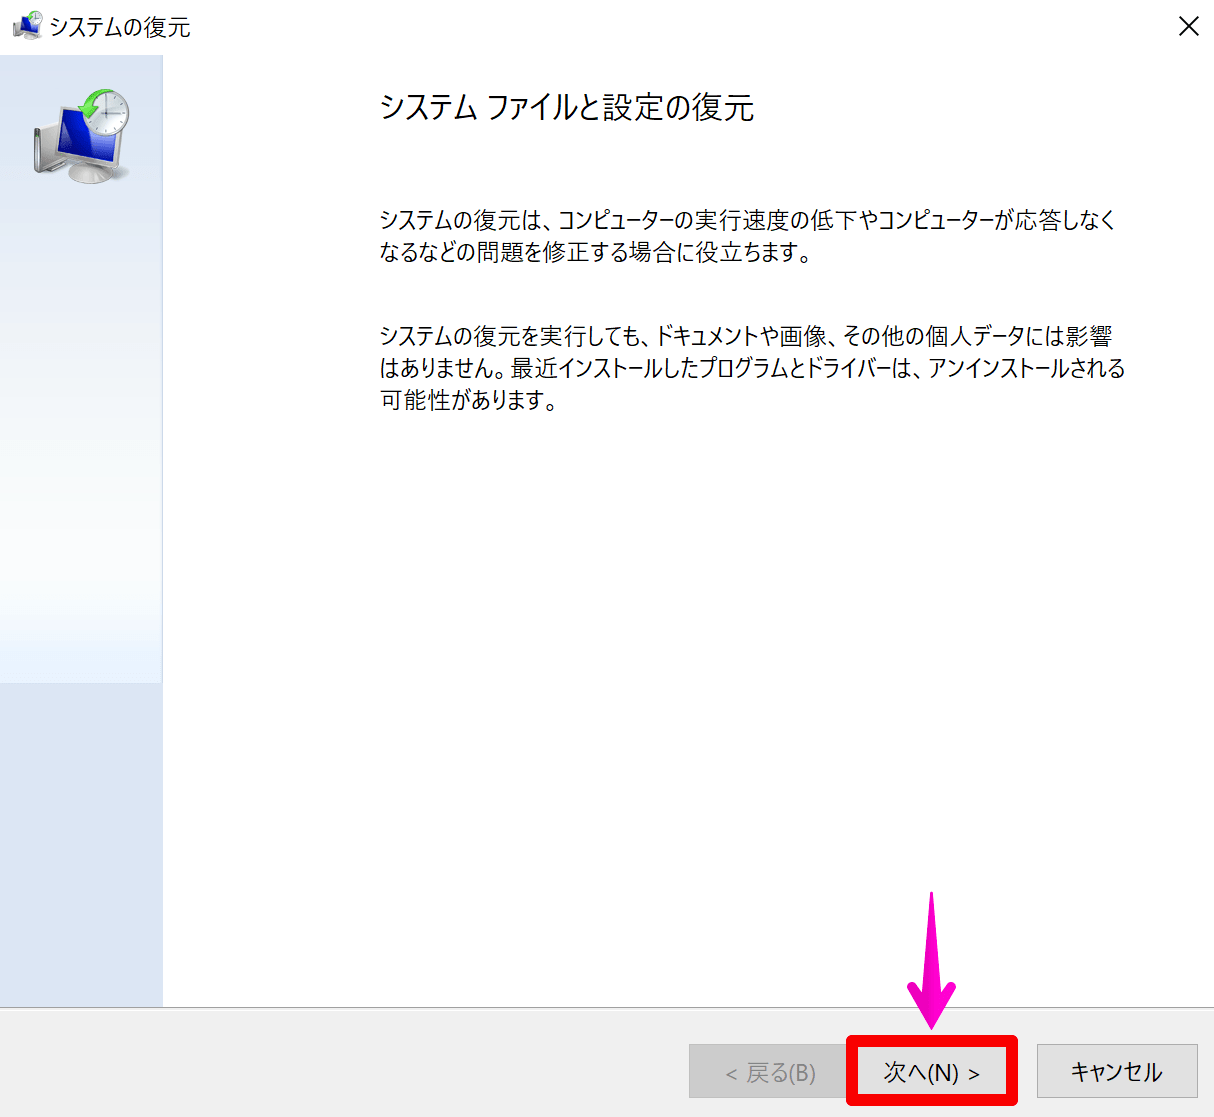
システムの復元ダイアログが表示されるので、[次へ]をクリックします。
![](https://shirokuma-folder.com/wp-content/uploads/2022/03/system-restore-dialog.png)
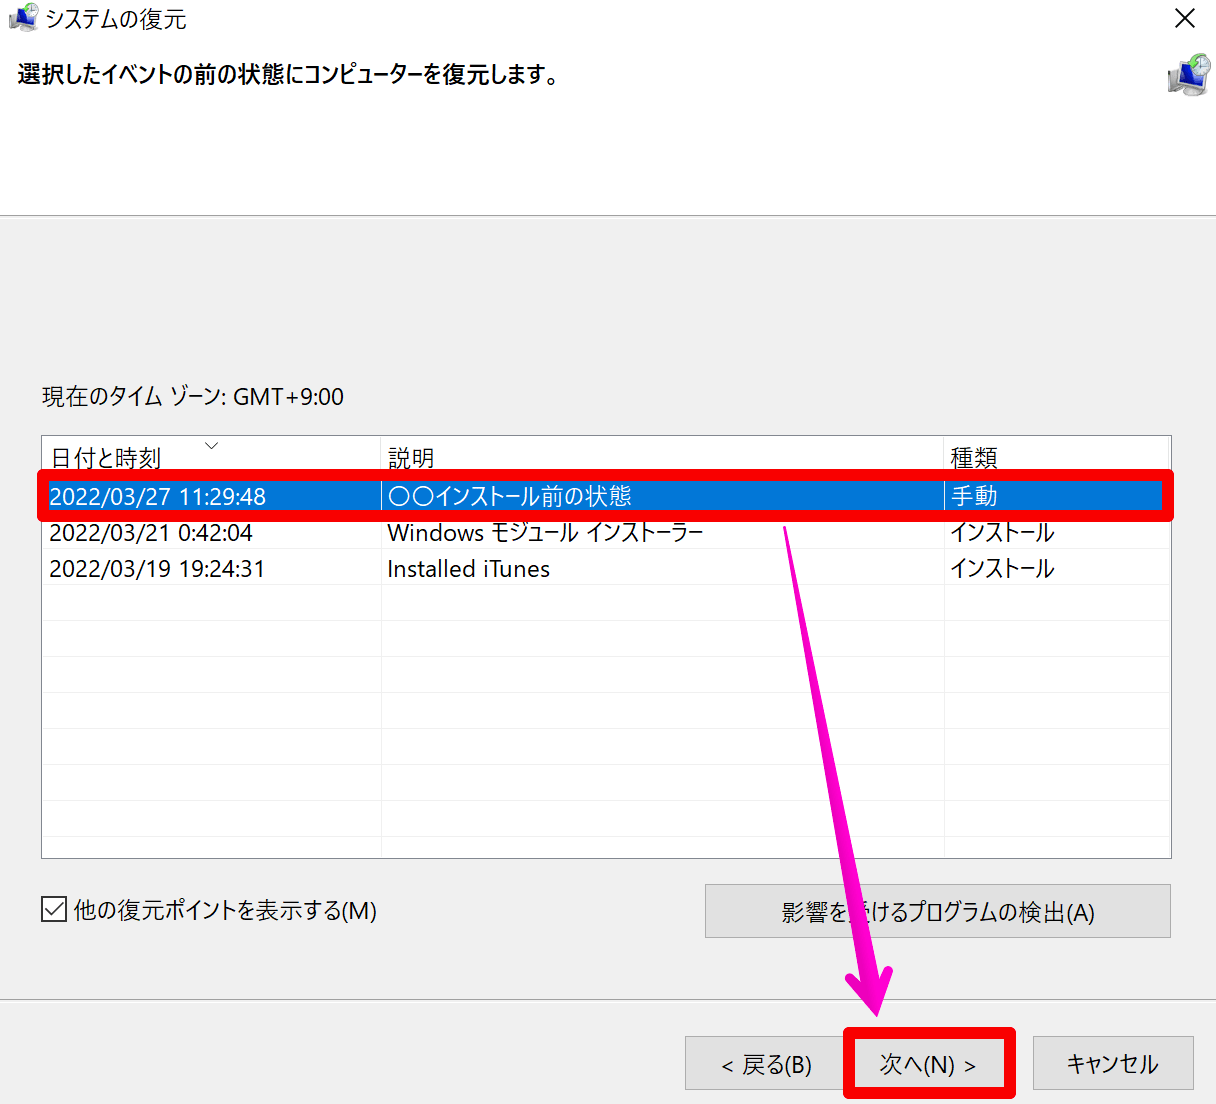
一覧から復元ポイント選択して、[次へ]をクリックします。
![復元ポイント一覧から選択](https://shirokuma-folder.com/wp-content/uploads/2022/03/select-from-the-restore-point-list.png)
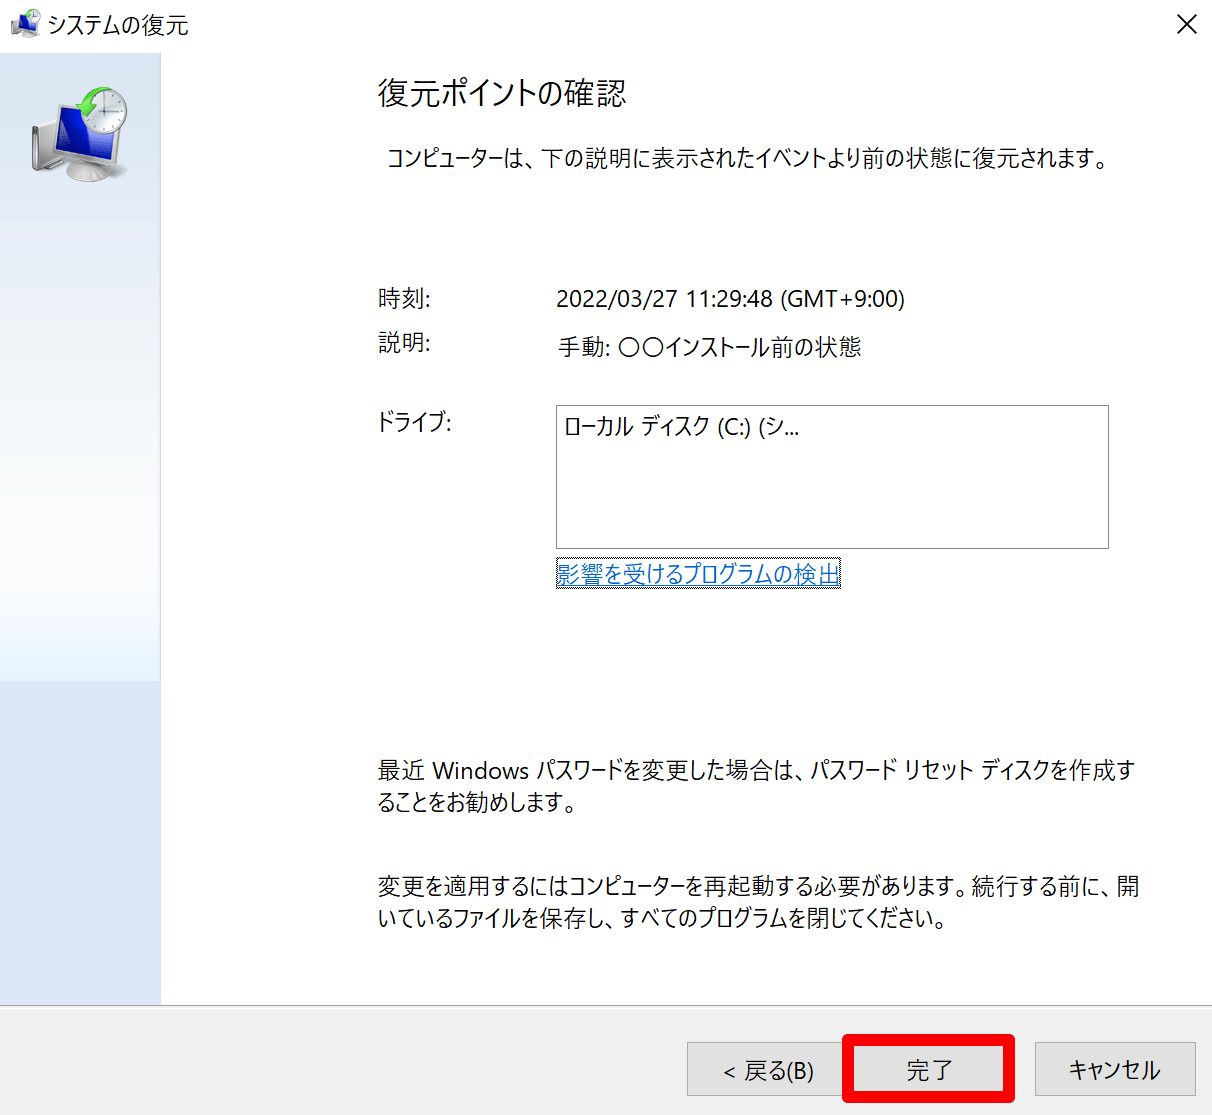
復元ポイントの内容を再確認して、[完了]をクリックします。
![復元ポイントの確認](https://shirokuma-folder.com/wp-content/uploads/2022/03/contents-of-restore-point.png)
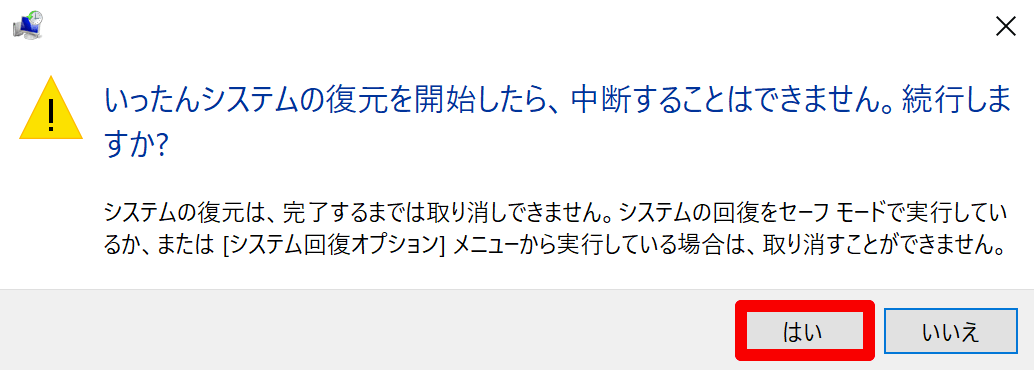
[いったんシステムの復元を開始したら、中断することは…以下略]のダイアログで、[はい]をクリックします。
![システムの復元中は中断不可](https://shirokuma-folder.com/wp-content/uploads/2022/03/restore-point-cannot-be-interrupted.png)
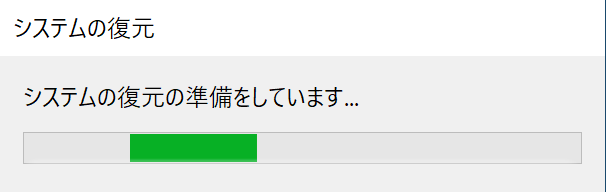
システムの復元の準備が始まるので、待機します。
![システムの復元の準備](https://shirokuma-folder.com/wp-content/uploads/2022/03/preparing-to-restore-the-system.png)
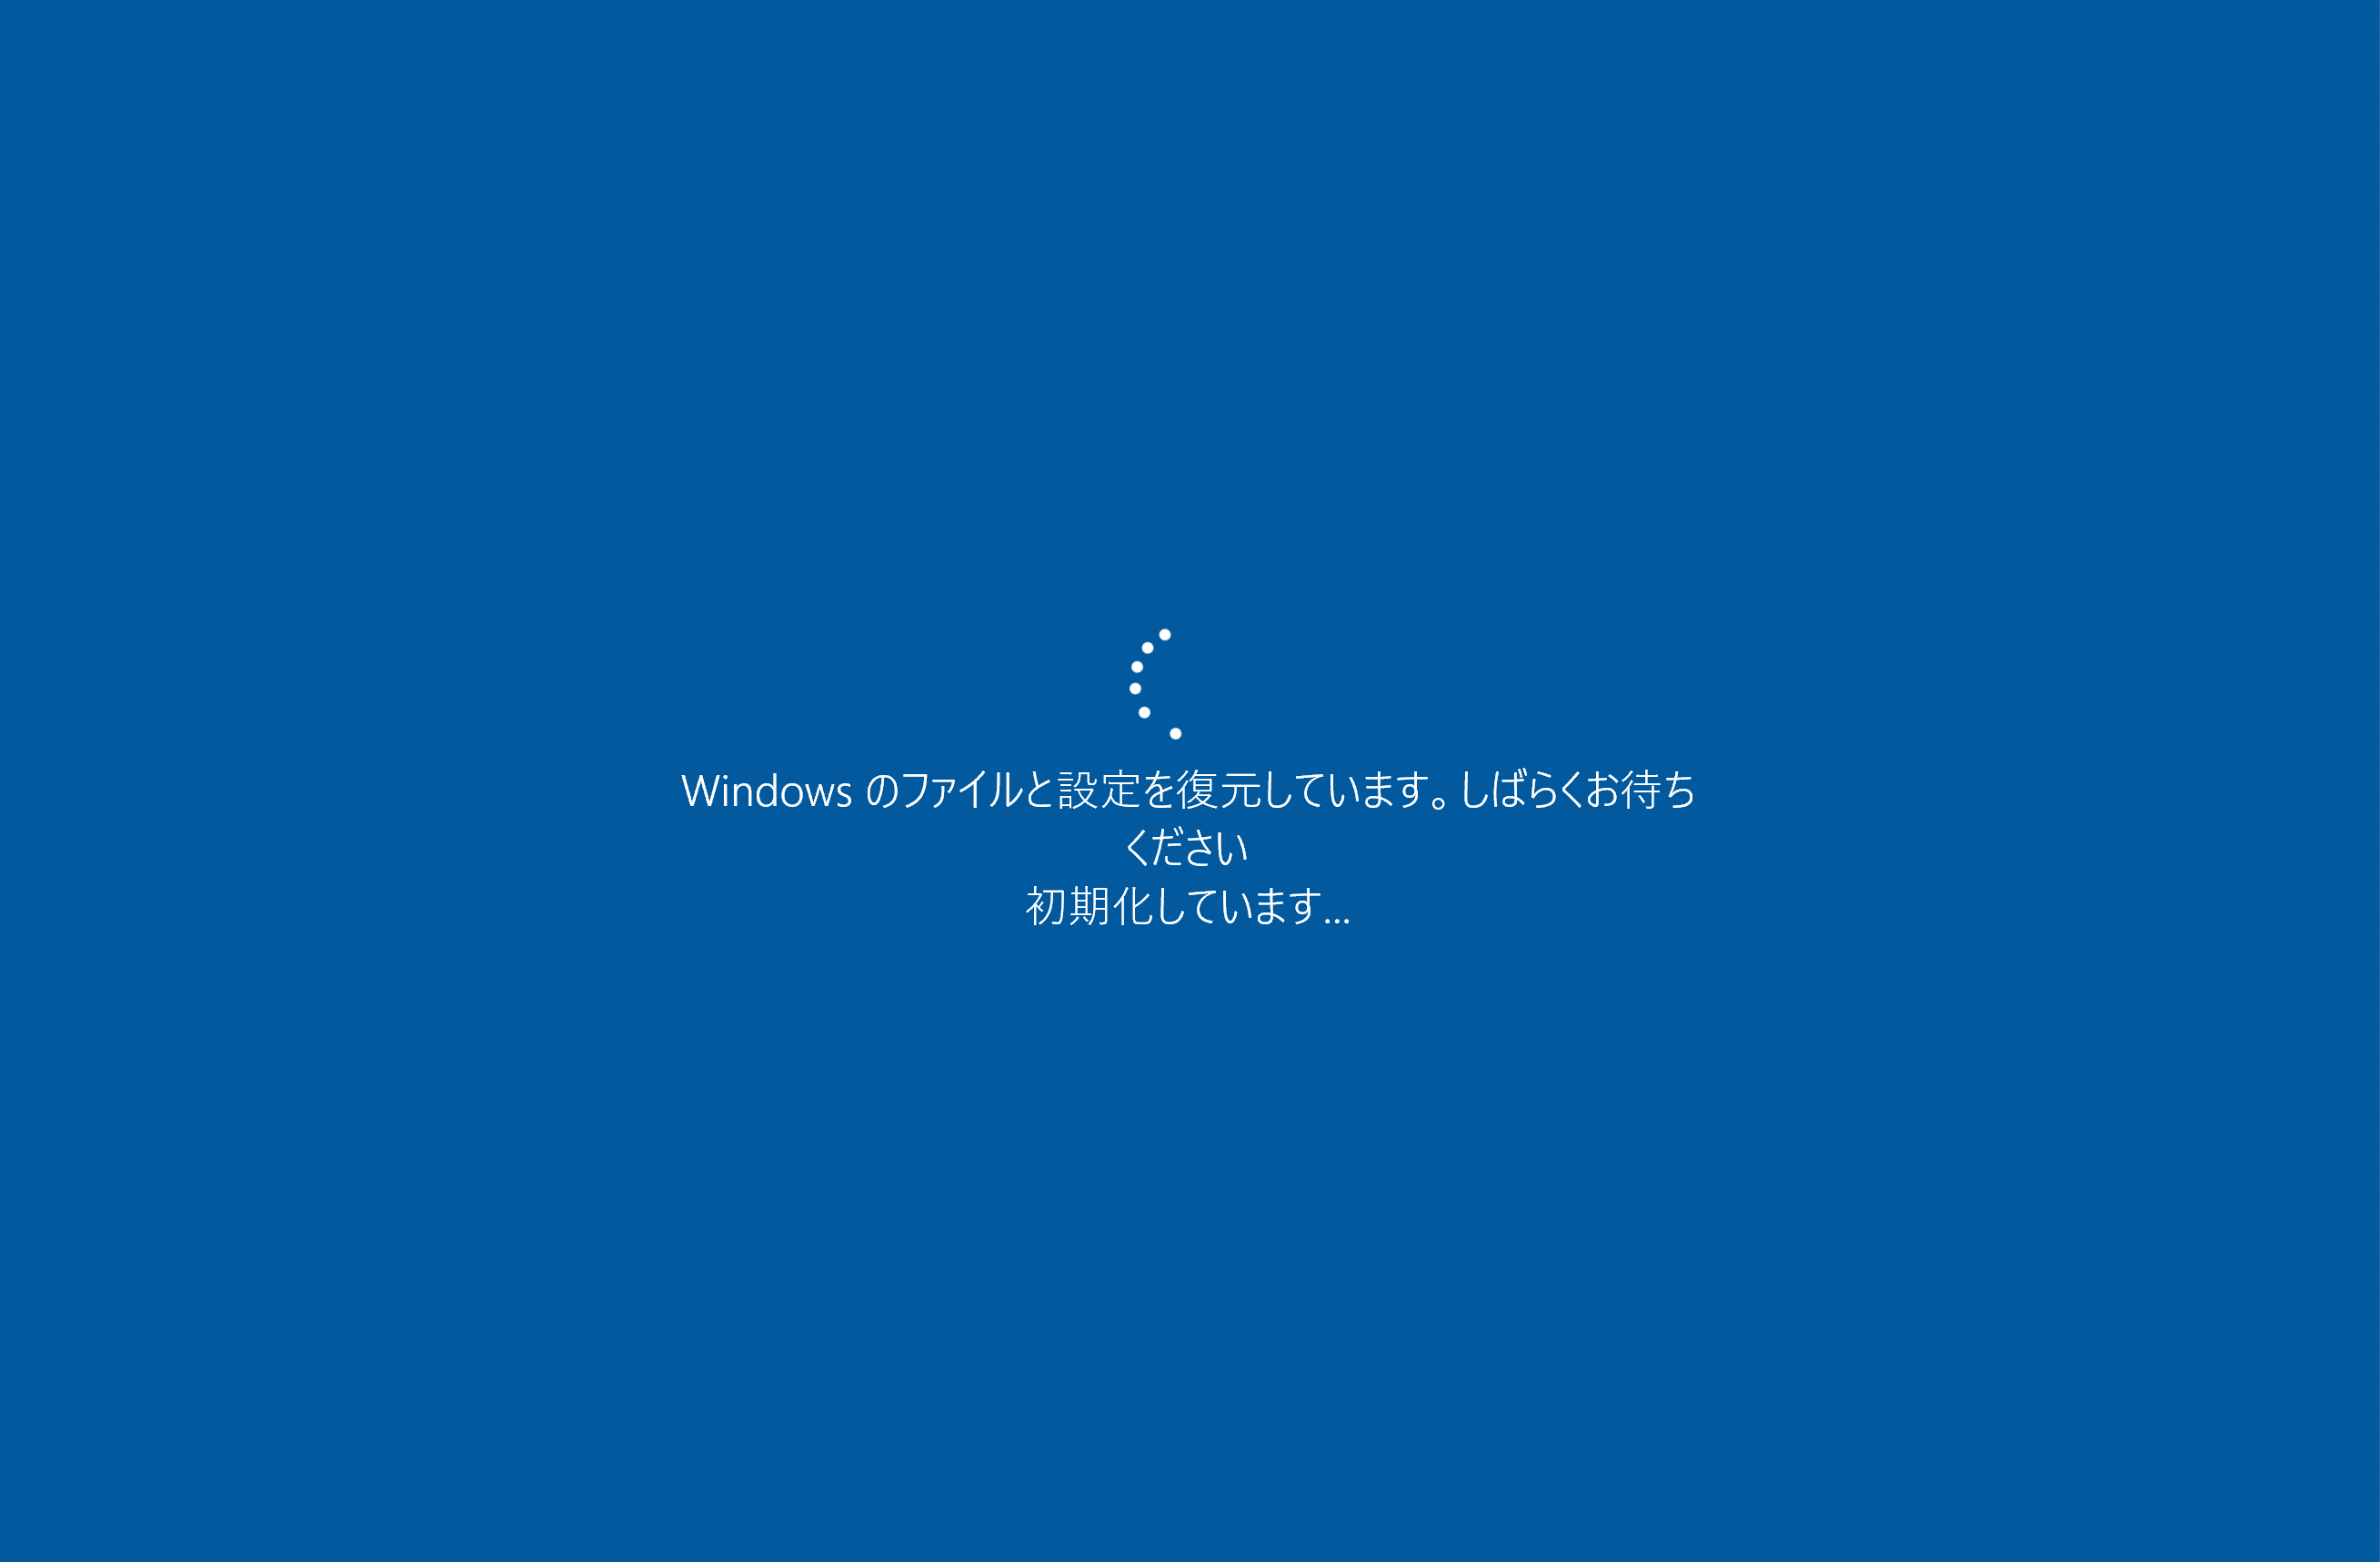
再起動が入り、システムの復元が始まります。(少々時間がかかります)
![システムの復元中](https://shirokuma-folder.com/wp-content/uploads/2022/03/system-restore-in-progress.png)
システムの復元後、再起動がかかるので、パソコンにログインします。
ログイン後、[システムの復元は正常に完了しました。…以下略]のメッセージが表示されました。
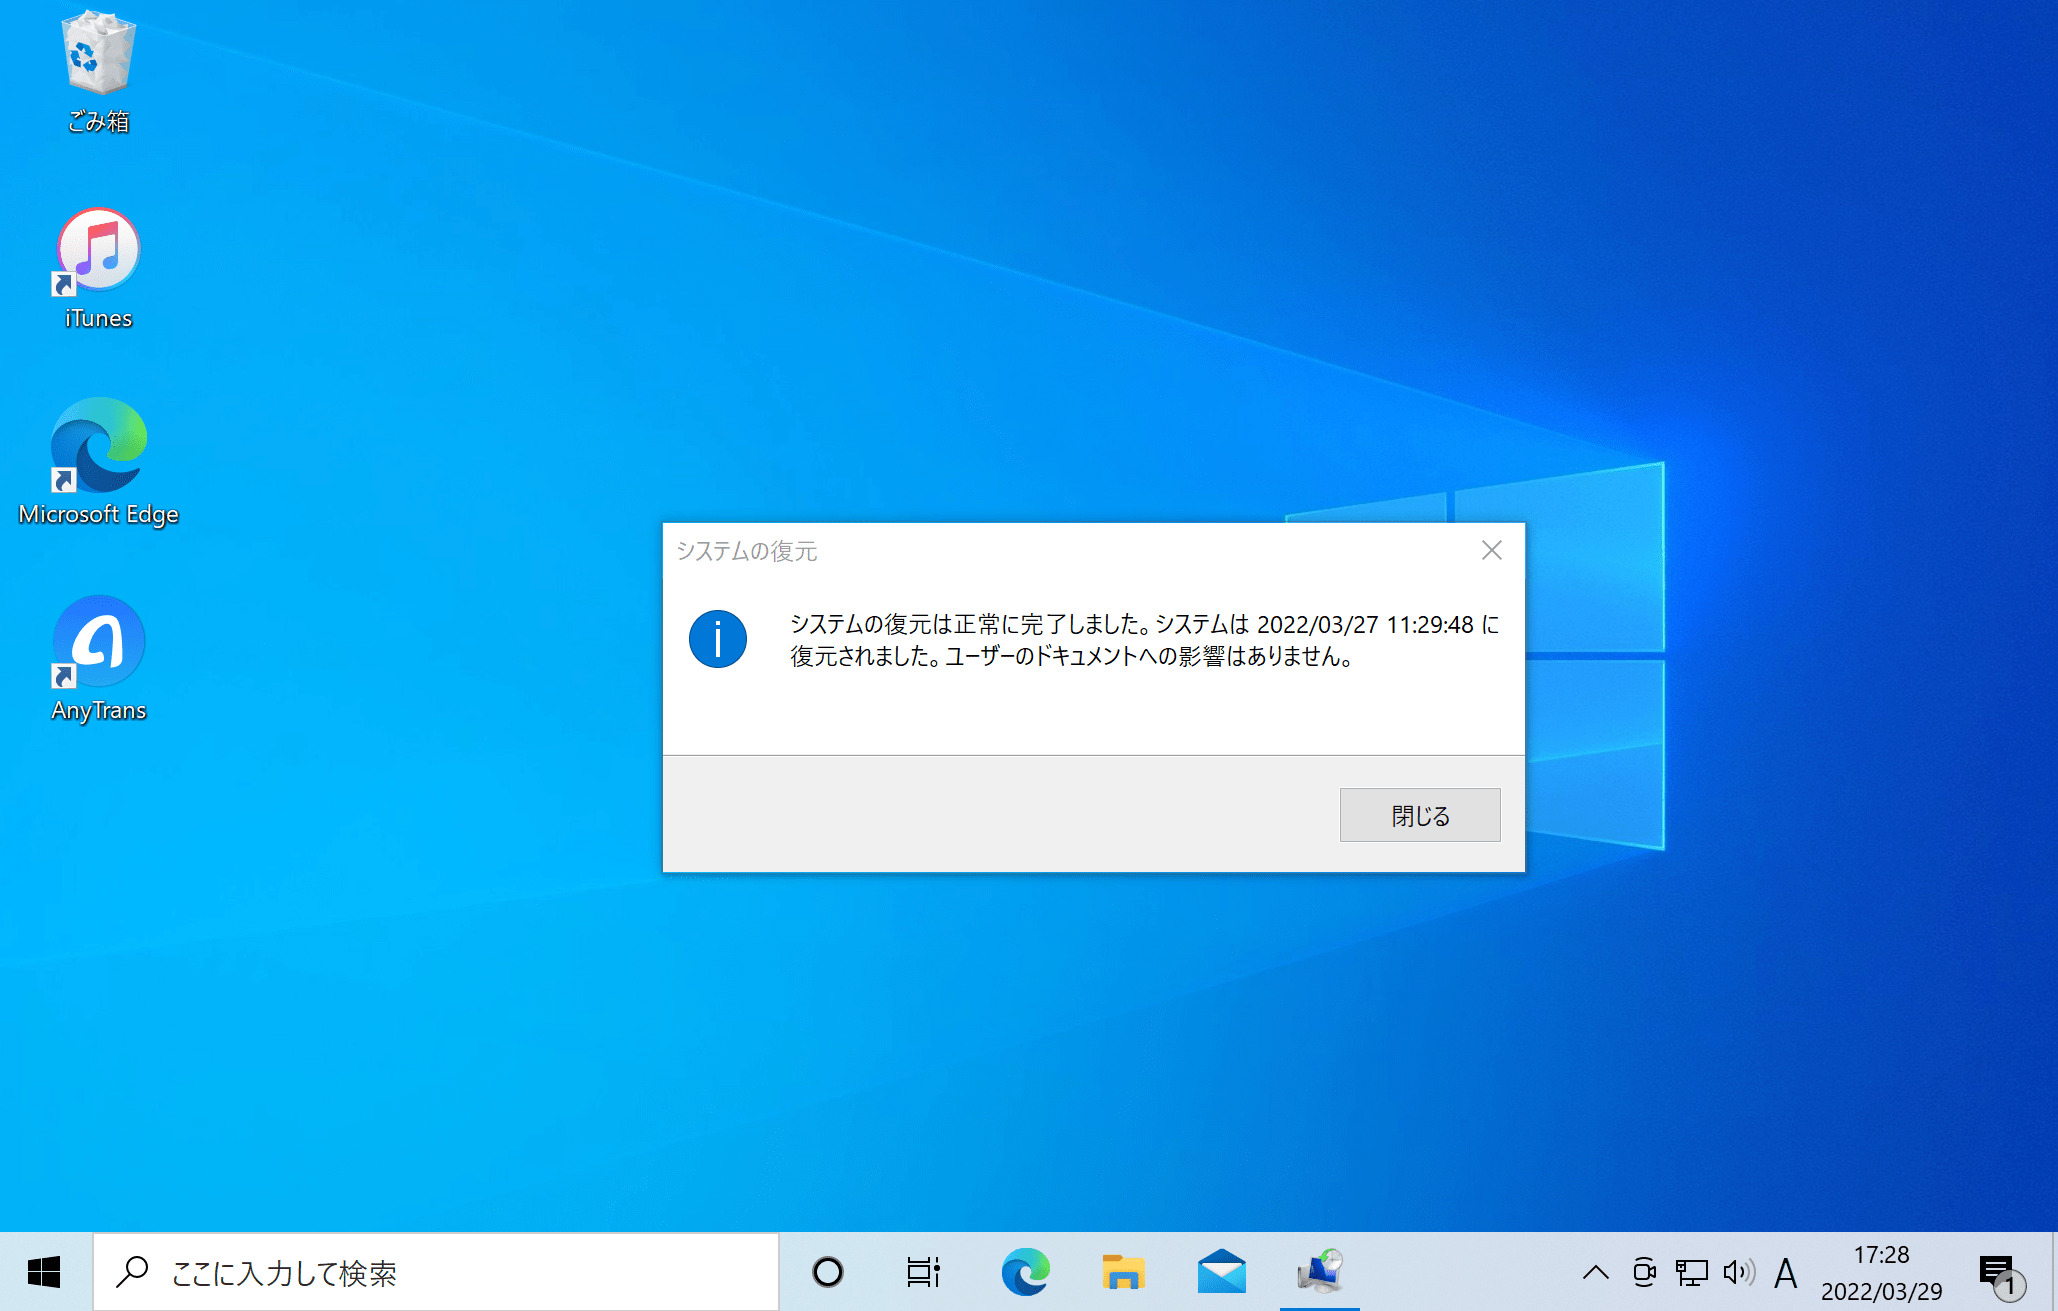
![システムの復元完了](https://shirokuma-folder.com/wp-content/uploads/2022/03/system-restore-completed.jpg)
以上で「システムの復元」は完了です。
![](https://shirokuma-folder.com/wp-content/uploads/2024/05/Twitter-shirokuma.jpg)
システムの復元後、以前の状態に戻っているか動作チェックしておきましょう。
システムの復元で使える3つの便利機能
システムの復元で使える便利機能を3つご紹介します。
- 復元ポイントの一覧を表示する方法
- システム復元で、影響を受けるプログラムを確認する方法
- システムの復元を取り消す方法
①復元ポイントの一覧を表示する方法
システムの復元画面で、復元ポイントが少ない時、[他の復元ポイントを表示する]にチェックをつけてみて下さい。
![復元ポイントの一覧非表示](https://shirokuma-folder.com/wp-content/uploads/2022/03/system-restore-check-off.png)
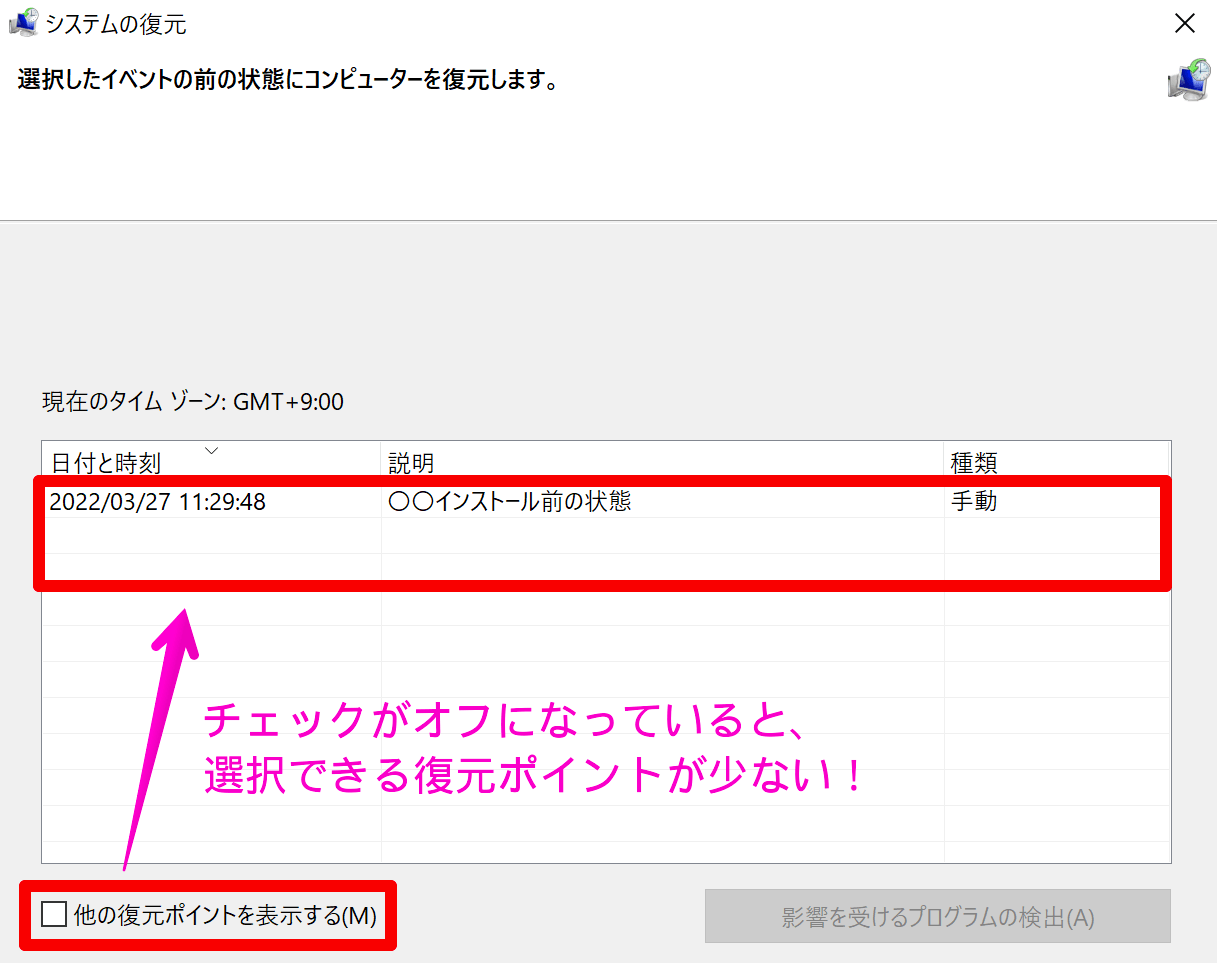
チェックをオンにすると、別日に取得した復元ポイントを表示できる場合があります。
![他の復元ポイントを表示](https://shirokuma-folder.com/wp-content/uploads/2022/03/system-restore-check-on.png)
![](https://shirokuma-folder.com/wp-content/uploads/2024/05/Twitter-shirokuma.jpg)
復元ポインの一覧を表示して、適切な復元先を選択しましょう。
②システム復元で、影響を受けるプログラムを確認する方法
システムの復元によって、影響を受けるプログラム・ドライバーは、確認可能です。
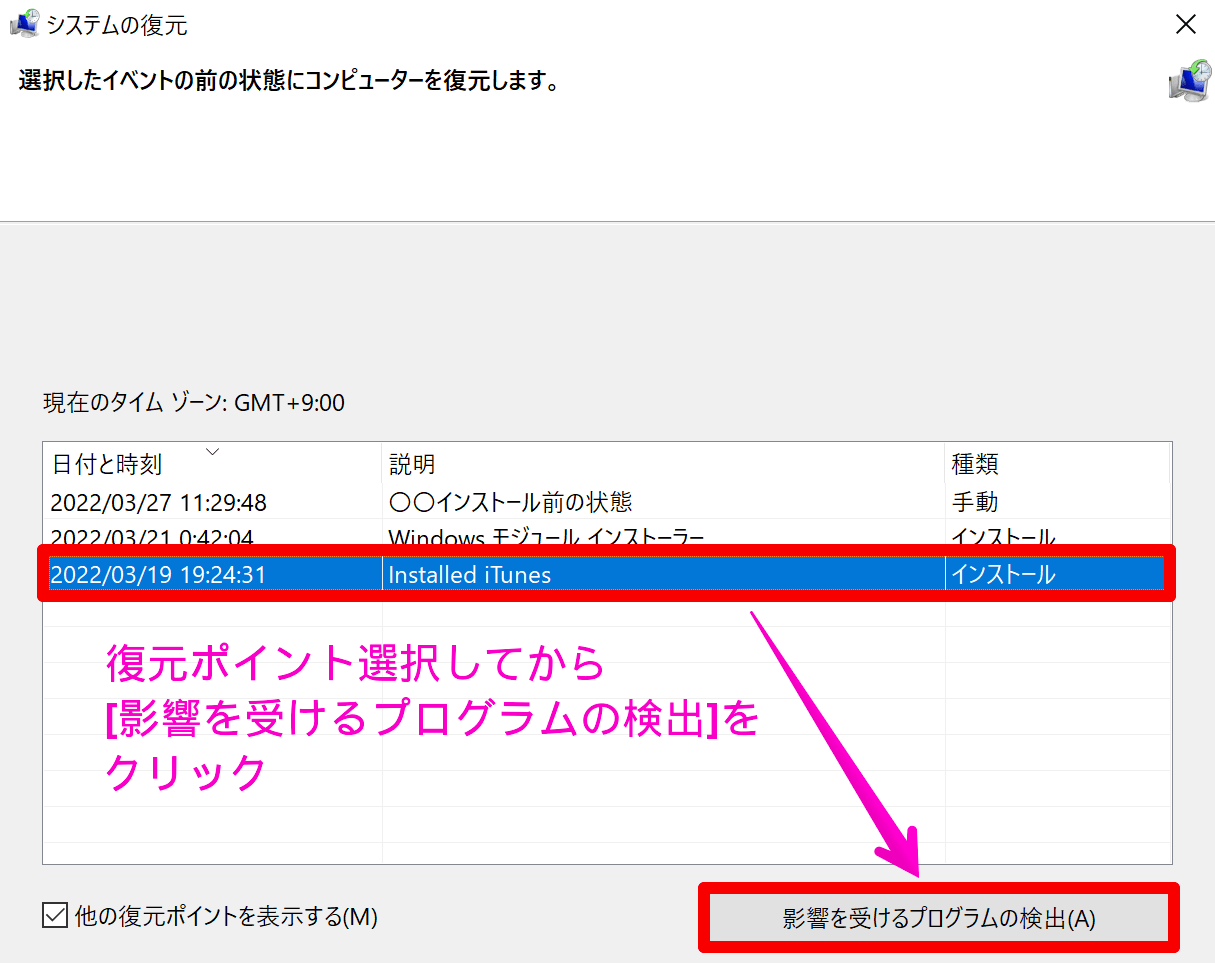
システムの復元画面で、復元ポイントを選択してから、[影響を受けるプログラムの検出]をクリックします。
![影響を受けるプログラムの検出](https://shirokuma-folder.com/wp-content/uploads/2022/04/detection-of-affected-programs.png)
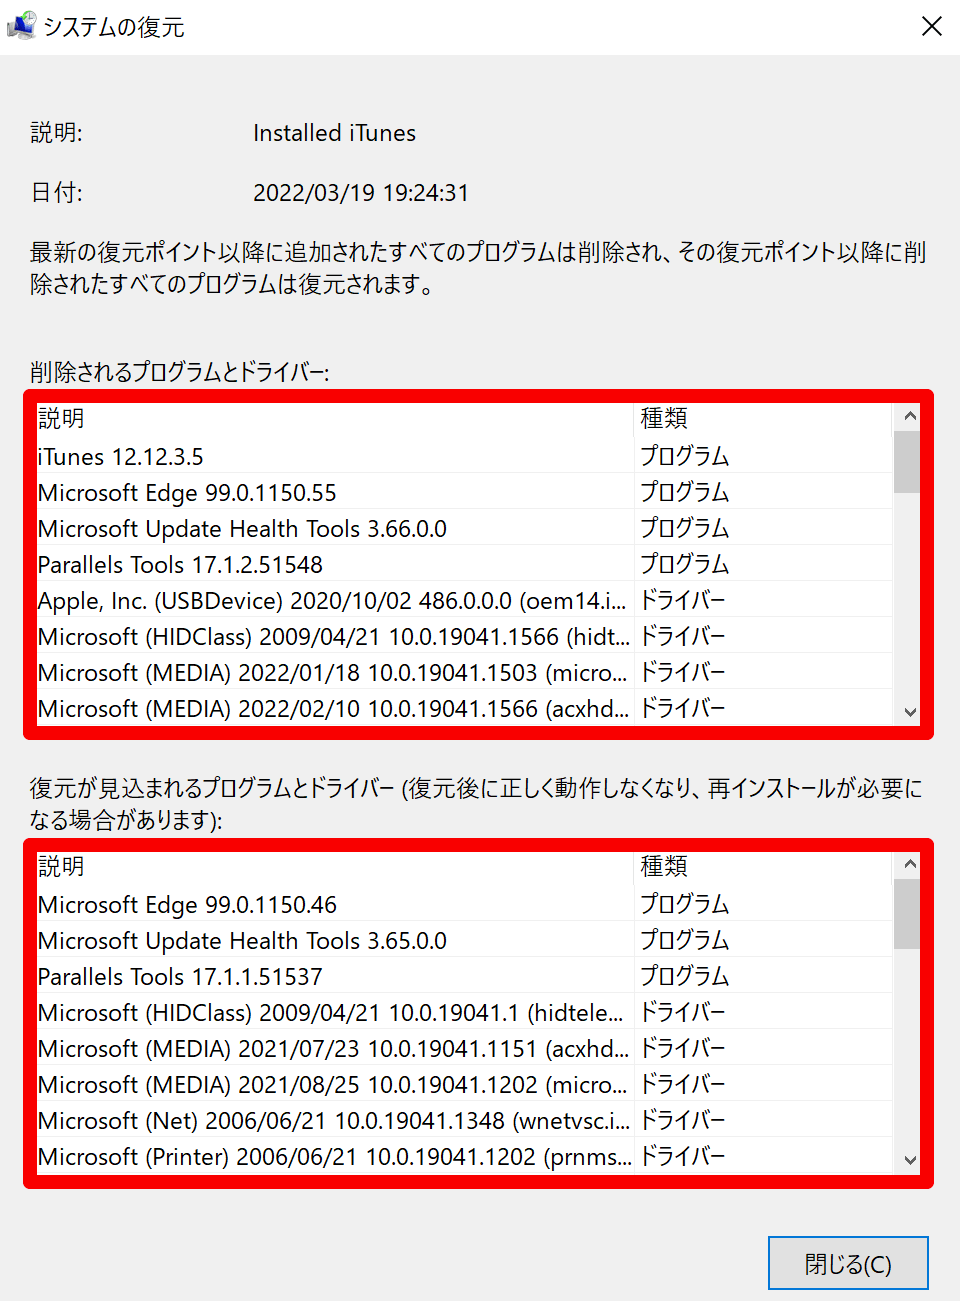
上段は「削除されるアプリケーションとドライバー」、下段では「復元予定のアプリケーションとドライバー」の一覧を確認できます。
![削除または復元が見込まれるプログラムとドライバー](https://shirokuma-folder.com/wp-content/uploads/2022/04/programs-and-drivers-that-are-expected-to-be-removed-or-restored.png)
![](https://shirokuma-folder.com/wp-content/uploads/2024/05/Twitter-shirokuma.jpg)
アプリケーションやドライバーの影響範囲を確認することで、システムの復元後に取るべき行動も見えてきます。
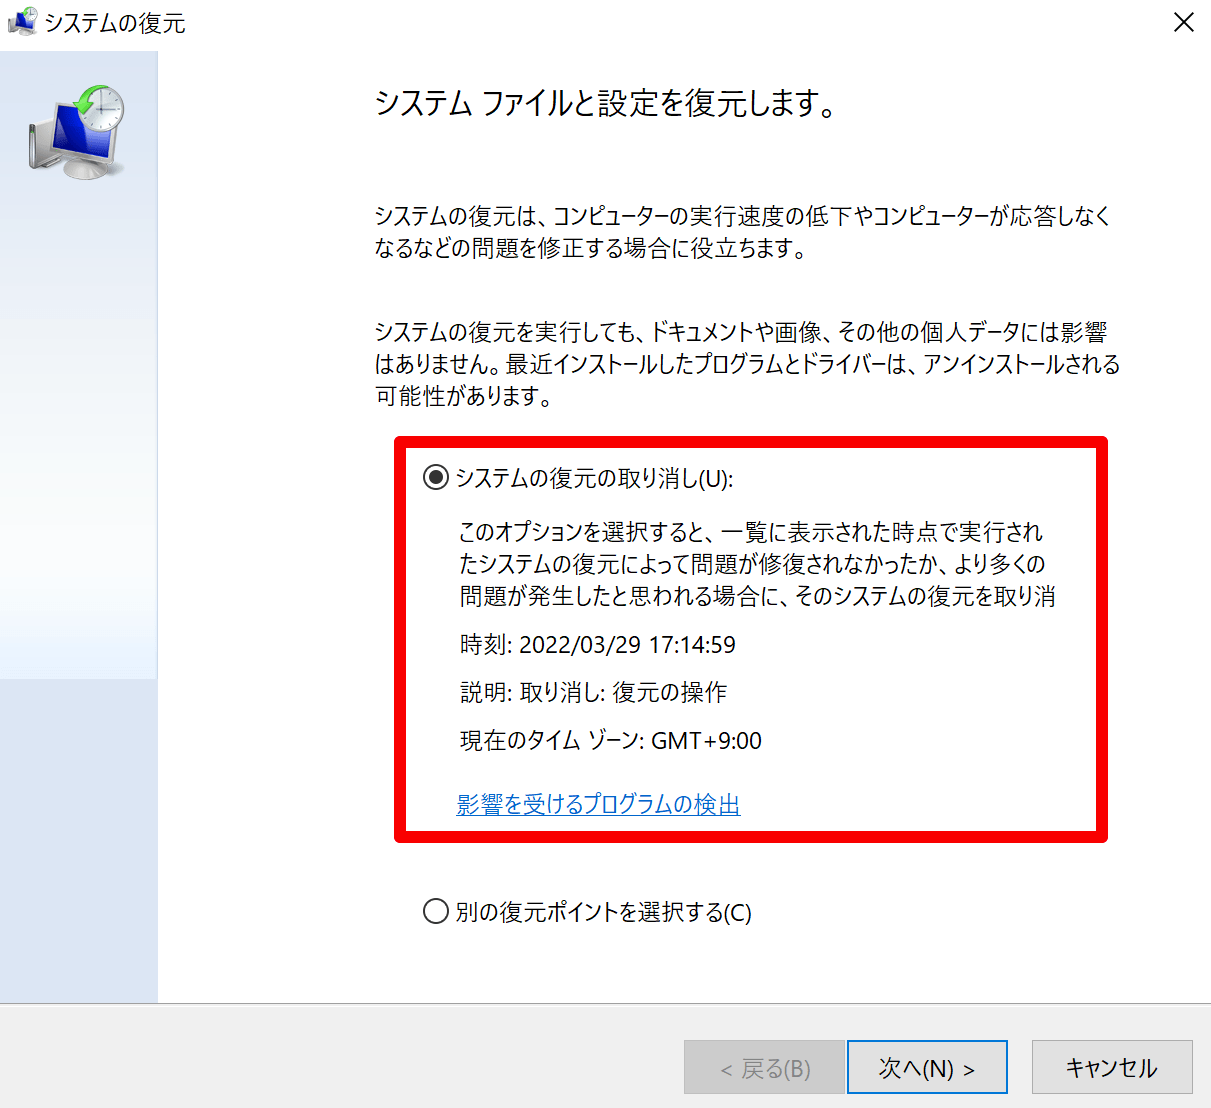
③システムの復元を取り消す方法
システムの復元を使用した後、システムの復元画面から取り消しが可能です。
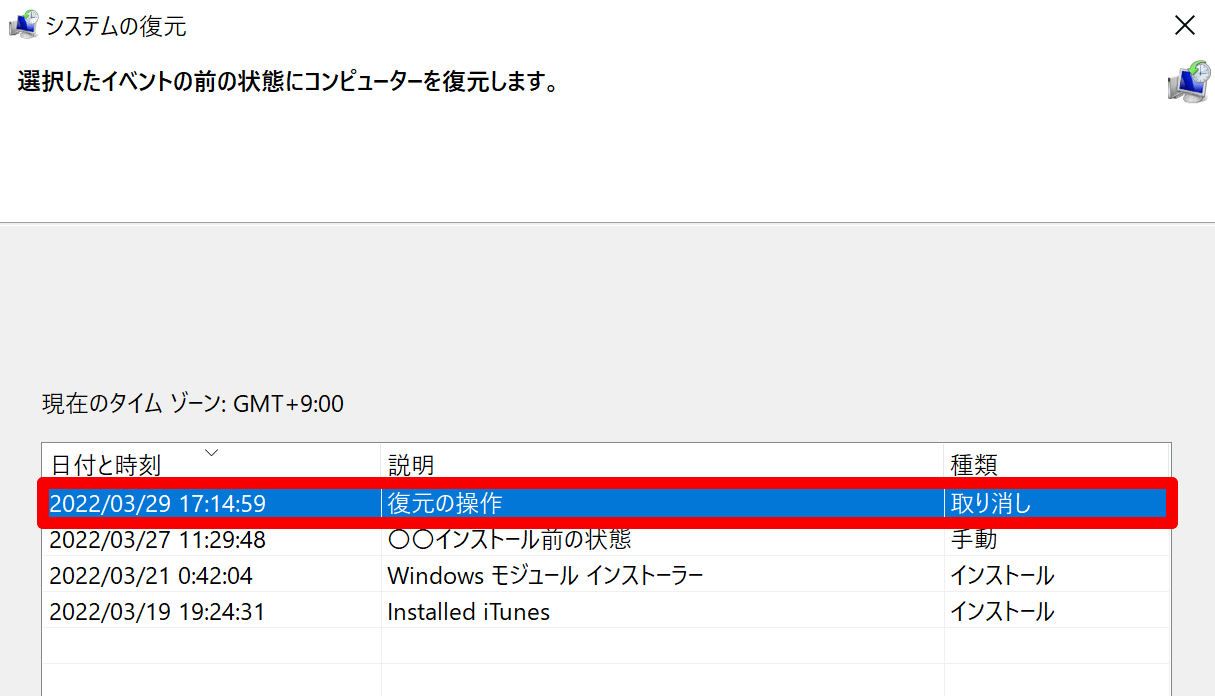
システムの復元画面起動後、[システムの復元の取り消し]を選択して進めるか、復元ポイントの一覧から選択して、復元の取り消しを実行できます。
システムの復元起動後に取り消す場合
![システムの復元の取り消し](https://shirokuma-folder.com/wp-content/uploads/2022/04/cancel-system-restore.png)
復元ポイントの一覧から選択して取り消す場合
![復元ポイントでシステムの復元の取り消し](https://shirokuma-folder.com/wp-content/uploads/2022/04/undo-system-restore-at-restore-point.png)
![](https://shirokuma-folder.com/wp-content/uploads/2024/05/Twitter-shirokuma.jpg)
復元後にPCの調子が悪くなったり、誤って復元した時、復元の取り消しを活用しましょう。
システムの復元を初めて使う時の注意点
システムの復元を初めて利用する時に、注意・確認しておきたい4つのポイントをまとめました。
- パソコンがシャットダウンしないよう、電源を接続する
- システム復元中に、処理の中断・強制終了をしない
- データ消失の可能性がある為、バックアップを取得する
- 復元ポイントを確認する
①パソコンがシャットダウンしないよう、電源を接続する
ノートパソコンやタブレットを利用している場合、バッテリー切れでパソコンがシャットダウンしないよう、電源を接続してからシステムの復元を実行しましょう。
システム復元中にパソコンをシャットダウンすると、PCを起動できなくなるなど、別のトラブルを引き起こすことになります。
②システム復元中に、処理の中断・強制終了をしない
システムの復元は、システムに加えられた設定情報を元に戻す処理を行っています。
その為、復元に数時間かかる場合もありますが、復元が完了するまで絶対に処理を中断しないで下さい。
システムの設定情報を変更している途中で、中断・強制終了すると、パソコンの故障や不具合を招くことになります。
③データのバックアップを取得する
システムの復元で、影響を受けるシステムやアプリケーションによっては、データ消失の可能性が少なからずあります。
重要なデータは、事前にバックアップすることをお勧めします。
![](https://shirokuma-folder.com/wp-content/plugins/pochipp/assets/img/pochipp-logo-t1.png)
④復元ポイントを確認する
システムの復元を利用するには、復元ポイントが必要になります。
復元ポイントの確認方法や、作成方法を下記記事で紹介しています。
さいごに:システムの復元について
今回は「システムの復元」について、次のことをご紹介しました。
- システムの復元を使用する方法
- システムの復元で使える3つの便利機能
- システムの復元を初めて使う時の注意点
システムの復元は、パソコンやアプリケーションの不具合・トラブルが起こった際、正常動作していた時点に戻せる便利な機能です。
パソコンが不安定になった時や、原因の切り分けなどで、活用してみてはいかがでしょうか。
コメント